Seat Cover and
Floor Mat Install
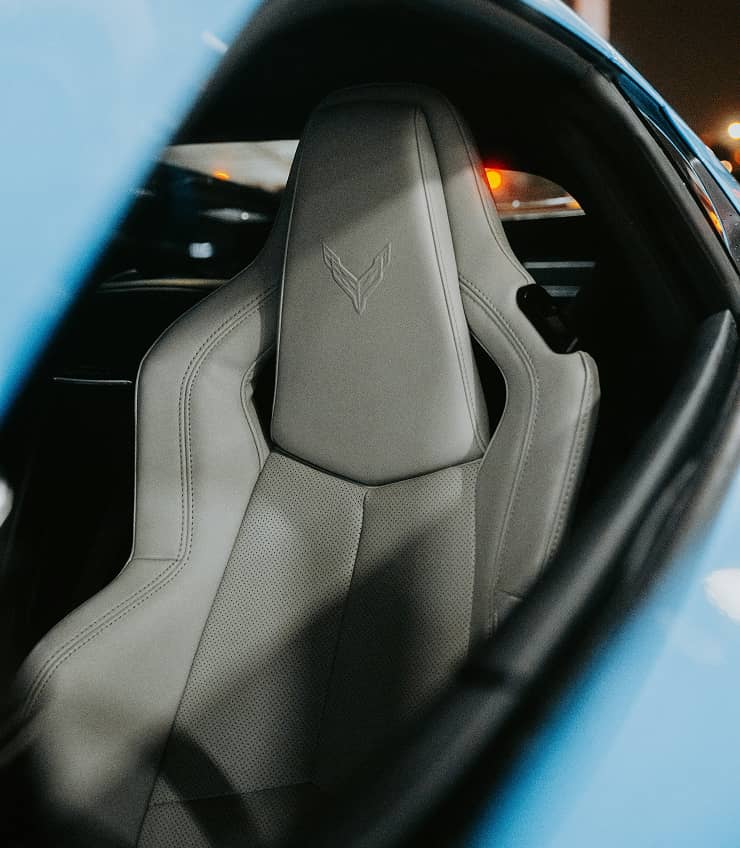
Seat Cover & Floor Mat Installation
Protect in style - seat covers and mats that keep your ride clean and classy.
Seat Cover & Floor Mat Installation enhances both protection and style by fitting your vehicle with custom or universal covers and mats. Options range from breathable fabric and leatherette to genuine leather for seats, and from easy-to-clean rubber mats to premium 3D/7D designs for floors. This upgrade shields interiors from daily wear, stains, and spills while improving overall aesthetics.
STEPS OF Seat Cover an floor Mat Installation
Remove Existing Covers & Mats
Take out any old seat covers and floor mats.
Clean the seats and floor area thoroughly before installation.
Unpack & Inspect New Covers and Mats
- Check for correct fit, color, and any damage or missing parts.
Install Seat Covers
Align the covers with the seat shape (start with headrests, then backrests and seat bases).
Secure using hooks, straps, or Velcro as per the design.
Ensure no wrinkles or loose areas for a snug, professional fit.
Cut Openings
- Carefully cut holes for seat belts, headrests, or levers if not pre-cut
Install Floor Mats
Position mats according to the floor layout—driver, passenger, and rear seats.
Use anchors or clips if provided to prevent slipping.
Final Adjustments
Check all covers and mats for alignment and security.
Tuck in excess material and make sure nothing interferes with seat movement or pedal operation.
Inspect for Fit & Finish
Ensure everything looks neat and fits correctly.
Clean off any installation dust or marks for a polished finish.
Benefits
One of the main advantages of Seat cover and floor mat installation.
-
1
Protects original seats and flooring from stains, spills, dirt, and daily wear.
-
2
Enhances interior aesthetics with stylish, customized designs.
-
3
Improves comfort with better materials and cushioning.
-
4
Increases resale value by keeping the interior in top condition.
-
5
Simplifies cleaning and maintenance